Overview
Docket supports writing dedicated test suites for your native iOS and Android apps, just like you would for a web app. Each mobile test runs against your app on a dedicated iOS simulator or Android emulator — the mobile counterpart to the web remote screen.Supported Devices
When configuring a mobile test, you pick a device profile. Docket provisions a fresh simulator/emulator matching that profile for each run.iOS simulators
- iPhone 17 Pro
- iPhone 16e
- iPad Pro 13”
Android emulators
- Pixel 9
- Pixel 9 Pro XL
- Pixel 9 Pro Fold
- Pixel Tablet
- Galaxy S23
Apps and Builds
A mobile app in Docket is a long-lived container for every build you ship. Tests always run against the app’s active build, which Docket installs onto the simulator before each run — so you never need to edit your tests after bumping a version.- Create an app: choose a name and platform (
iosorandroid) and upload your first build. - Add builds over time: each build has its own name (typically a version or commit SHA) and binary.
- Switch the active build: promote any build to active to run your existing tests against it — useful for release candidates or reproducing regressions on older versions. Deleting the active build auto-promotes the next most recent one.
Device Settings
Mobile tests expose a Device Settings tab inside Advanced Settings for configuring the simulator/emulator environment before the run starts. This tab only appears for mobile tests.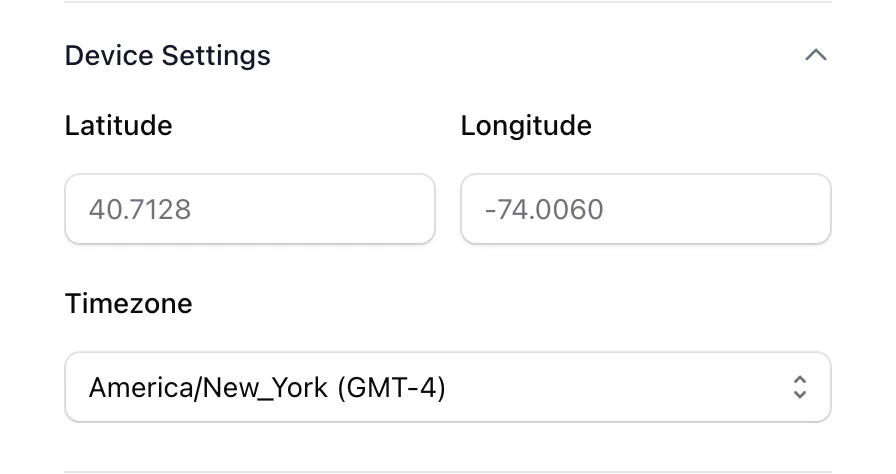
- Latitude / Longitude (iOS and Android): override the device’s GPS location so location-aware flows resolve to a specific place.
- Timezone (iOS and Android): set the simulator/emulator’s timezone, useful for testing time-of-day, scheduling, and region-specific behavior.
- Orientation (Android only): switch the emulator between portrait and landscape.
App Error Logs
For both iOS and Android runs, Docket captures the app’s native device logs and surfaces them in the run view under the App errors tab whenever a log is available, making it easy to trace a failed step back to a crash or exception inside your app. The log viewer highlights crashes and exceptions, collapses repeated lines, supports search, and offers the full log as a download.Build Requirements
Docket installs your app onto a simulator/emulator, not a physical device.- iOS
- Android
Upload a zipped simulator The Add
.app bundle — not an .ipa.Xcode
Open the project, choose the app target and any simulator device in the toolbar, then go to Product → Scheme → Edit Scheme and set the Run build configuration to Release. Then pressCmd + B. The .app will be at:React Native
.app will be at ios/build/Build/Products/Release-iphonesimulator/<YourApp>.app.Flutter
--flavor <flavorName> if your project uses flavors. The .app will be at build/ios/iphonesimulator/Runner.app.